Sprint and Hillclimb Photos
These pages have moved to http://www.nwsprints.co.uk where there are no annoying adverts, pop-ups or spyware and it responds quicker too! If anyone can lend me any better piccies which show any of the local machinery or illustrate the courses I'd be most grateful and I promise to return them! As you can see photography isn't my hobby. Click for larger images:
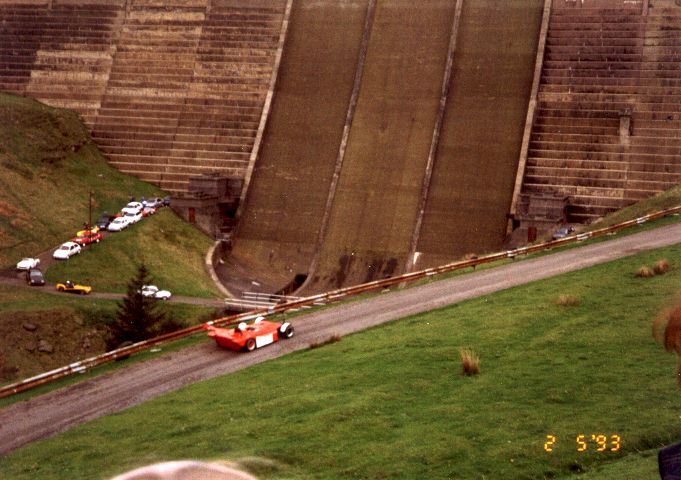
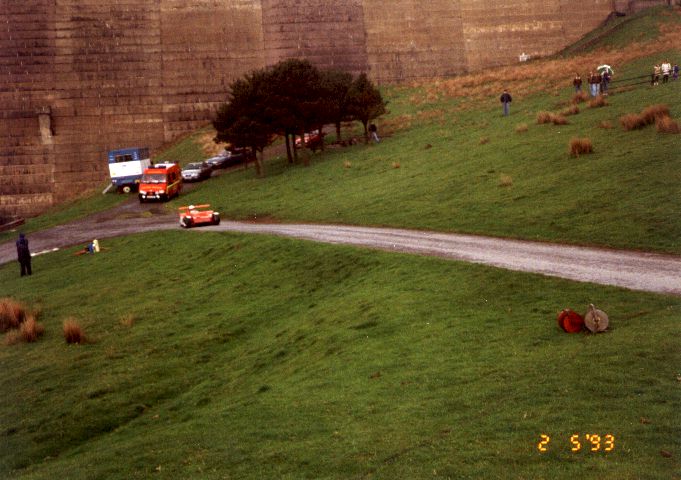
| Baitings Dam | |||
 |
 |
 |
 |
| Coming up to 2nd hairpin | Exiting 2nd hairpin | Bedraggled marshall on inside of paddock bend | Turning into the top right-hander, with paddock in the background |
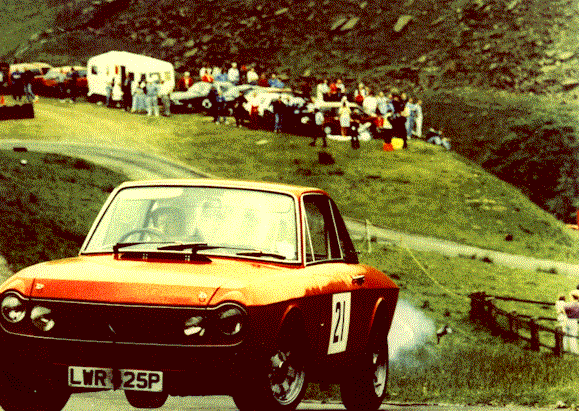
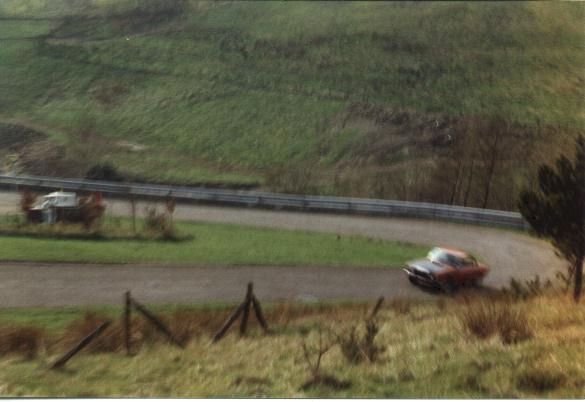
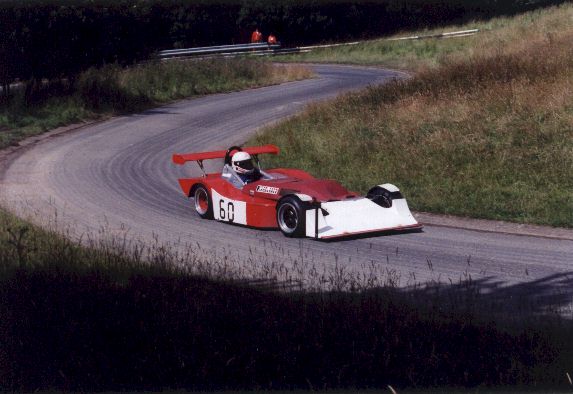
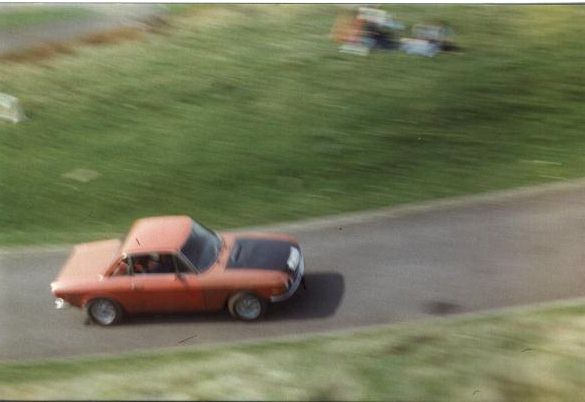
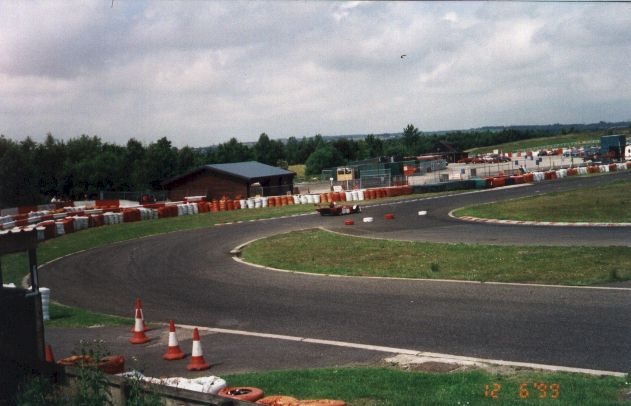
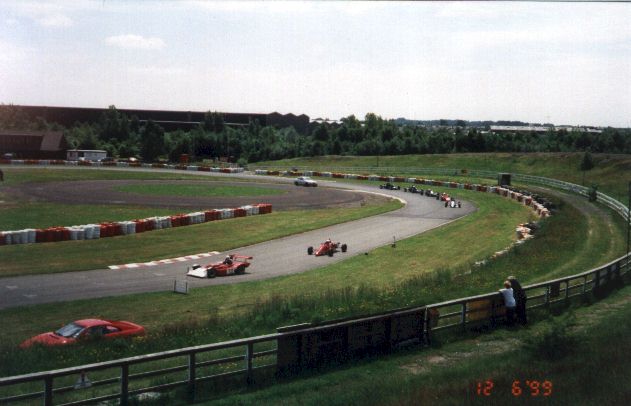
| Scammonden Dam | |||
 |
 |
 |
 |
| View from the top. | Exiting 2nd bend. | 3rd bend | 3rd bend |
 |
 |
 |
|
| Lancia Fulvia exiting from 3rd bend onto straight. | Entering main straight - seen from the other side of the road | Top Bend | |
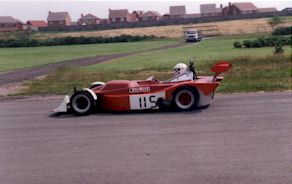
| Aintree | |||
 |
 |
 |
|
| Courtesy of Liverpool MC/Aintree CC. | Phil Major's Mallock Mk24 B/M. Country corner. Courtesy of Steve Wilkinson | Entry to Village corner | Exit from Village corner |
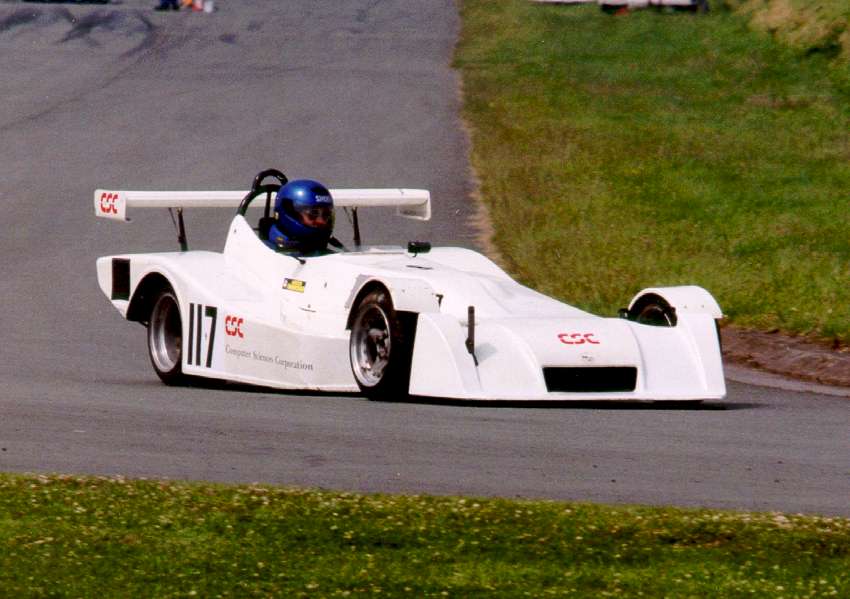
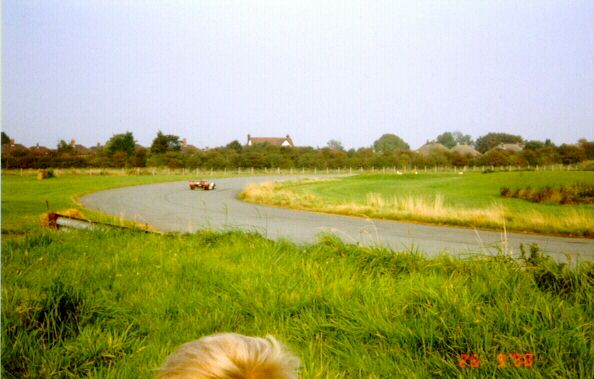
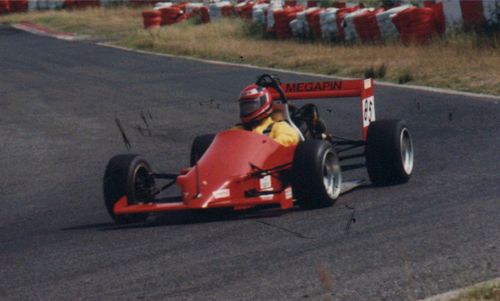
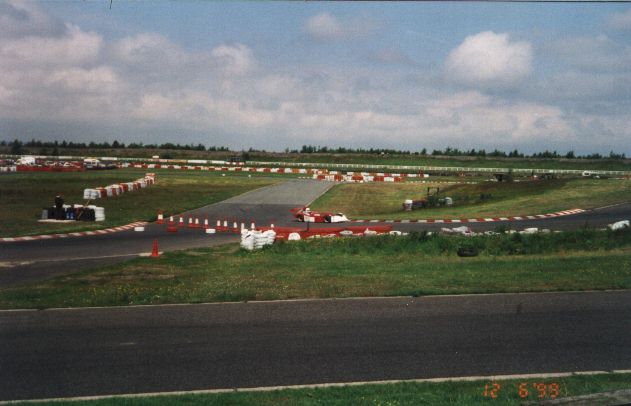
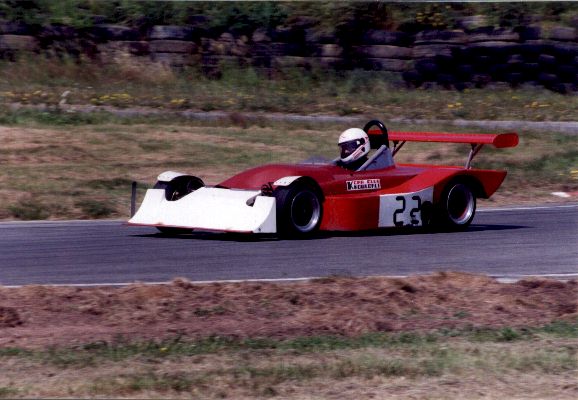
| Three Sisters | |||
 |
 |
 |
 |
| Graham Sherwood's Megapin (Courtesy of Pennine Motor Sport) | Ibid | Ibid | The 180% lefthander by the pits - only used when the course starts from the pit lane. |
 |
 |
 |
 |
| The lefthander after the esses. | Seen from the other side. | Exiting the right-hander at the bottom of the hill. | Forming up before the start. |
 |
|||
| John Hamilton's Sylva exiting the esses | |||
| Ty Croes | |||
 |
 |
 |
 |
| Radar. Courtesy of Steve Wilkinson | A mile away from the apex on the hairpin. Courtesy of Steve Wilkinson | Exiting hairpin. Courtesy of Steve Wilkinson. | Mountview. Courtesy of Steve Wilkinson |
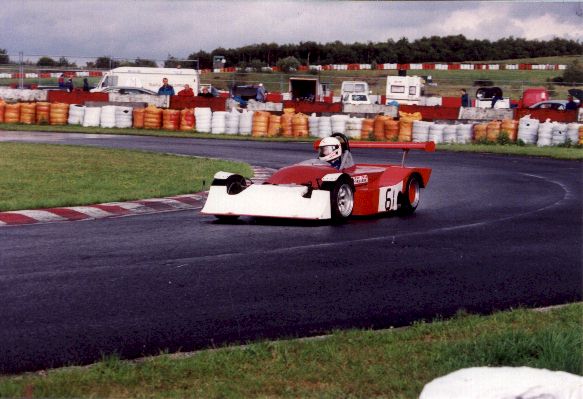
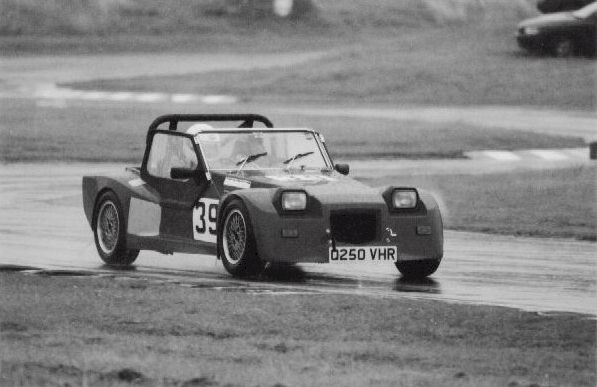
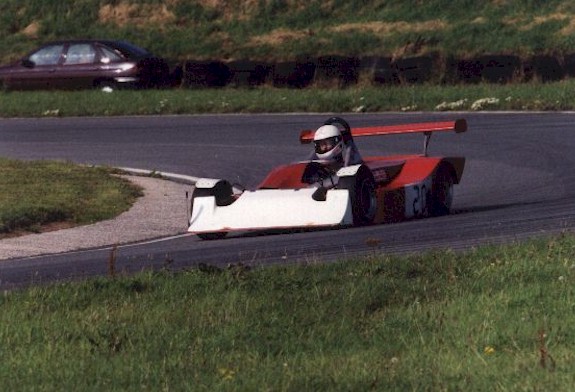
| Miscellany | |||
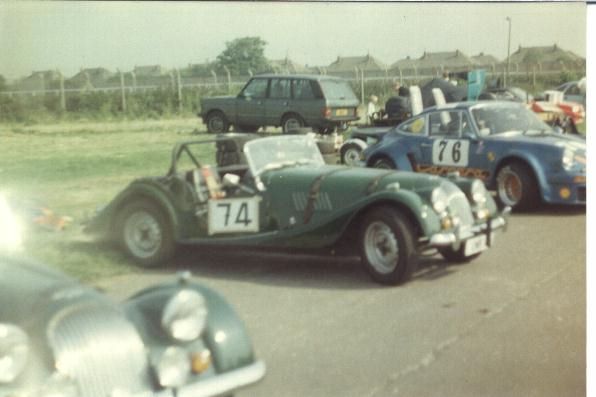 |
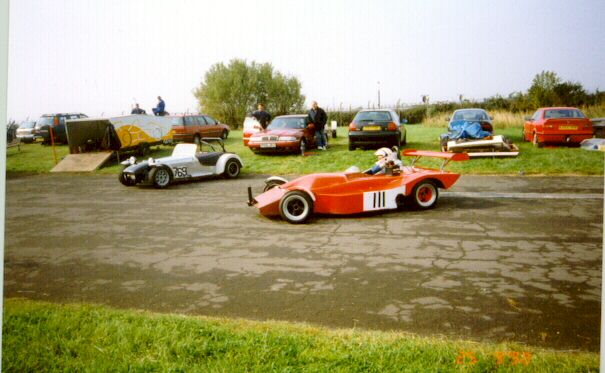 |
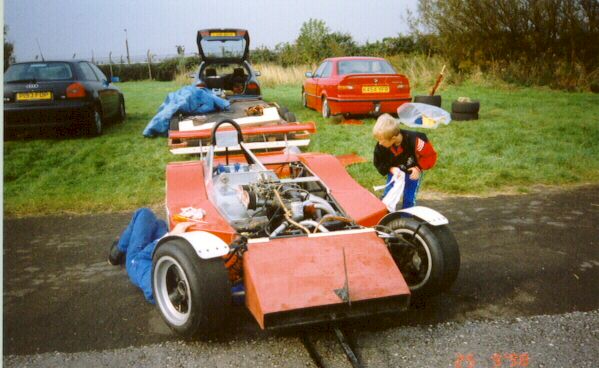 |
 |
| Morgans at Aintree - late '80s | Aintree paddock 1998 | Looking for that oil leak | Wot's that bit dad? |
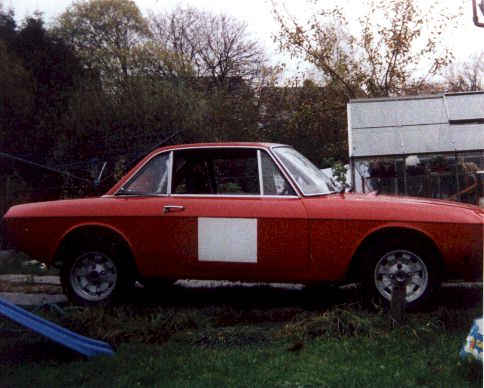 |
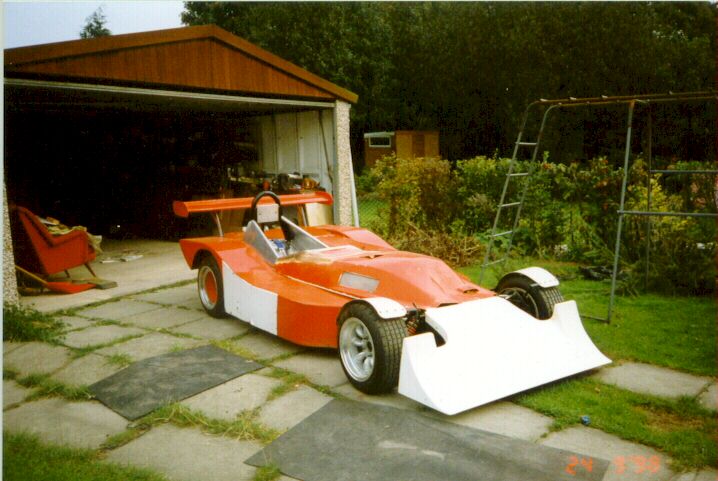 |
||
| Lancia Fulvia S3 - converted to 1600HF spec. | Mallock Mk14b | ||